‘Know to sew’ essentials
Even if you are not quite ready to jump on the machine, it’s great to learn these hand sewing household repairs!
Button replacement
To sew on a button, choose matching thread and cut about twice as much as the length of your forearm. Cut the thread at an angle to make it easier to slip into the eye of the needle. Use a sharp medium sized needle and loop the thread into the eye, creating an even length of thread on both sides. Tie the end of the two threads into a knot together.
Then, stick the needle through the wrong side of the fabric where your button will go and pull it all the way through until the knot stops at the end of the thread. Slip the needle through one hole of the button and then through the opposite hole of the button. Lastly, bring the needle back through the fabric on the right side a quarter inch away from your first stitch.
Repeat your stitch through the back side, but this time before you bring the needle through the buttonhole, wrap the thread around the base of the button a few times to secure it in place. Then, slip it through the button hole from underneath the button, and back through the top side of the other button hole into the fabric and pull through on the wrong side.
Repeat this process until your button feels secure. Leave enough thread at the end of your needle, to secure a knot on the wrong side of the fabric by sewing through just the back side and looping the needle back into itself through the loop you created. Pull until snug and then snip the thread, leaving a half inch of extra thread hanging.
Hemming with a machine is quite easy too.
Blind hem
If you’re 5’3 like me, pant legs can drag or sleeves can be too long. Consider this blind hem you can do by hand to lighter weight fabrics like dress pants.
Before you can sew, you will need to measure how much fabric you want to hem. To do this , pin the extra fabric above the hem creating where you want your new hem to be, then measure how much length you’ve pinned.
You will need a grid ruler and tailors chalk to make even marks on the end of your pant leg or sleeve of the length you want to hem, starting from the existing hem. Mark a 1 1’2 inch seam allowance below, starting from your first mark down towards the hem. Cut only on the second line with pinking shears, or scissors if you plan to surge. Turn your garment inside out to work on the wrong side of the fabric and pin the fabric of the new hem up at your chalk line. After pinning all around, choose a matching thread and needle. Thread half the length of your hem in thread through the needle. Tie a single layer knot at the end and let your other end hang long enough that it will not slip out. On the side seam, stick your needle in far enough to grab the seam allowance of the side seam and the top layer of fabric in the flipped up hem and pull through until your knot stops and secures your thread.
Then, stick your needle through the thinnest layer of thread on your garment just above the hem and back through the hem at an angled line. You should be lightly sewing the seam allowance to the bottom of the sleeve or pant leg with each stitch you make through the seam allowance and then back through the thin layer of thread in the fabric above the hem on the wrong side. Secure once you get to the other side seam and then repeat this process until you reach the side seam you started at and secure the end of your thread with a knot.
Since you already know how to mark your hem, leave 1 inch of seam allowance instead, to create a rolled hem with your machine. This technique works best with pant hems, especially jeans. You do not need to finish the edge of this seam allowance since it will be rolled inside. So, go ahead and cut your hem on the seam allowance with a pair of sharp scissors. Find the matching thread from your original hem and thread your sewing machine. Leaving your jeans right side out, roll twice over with equal 1/2’ width of your seam allowance up where your top chalk mark is on the fold, then pin all around the hem. Position the inside of your jeans under your needle at the side seam at the top of your fold and start with your needle down. Slowly work your machine over the bulk of the seam, and then as you sew, take your pins out. Sew right at the edge of your fold with a straight stitch, back tacking as you finish at the side seam you started on.
Do the same to the other leg and your jeans are as good as short!
Sewing essentials
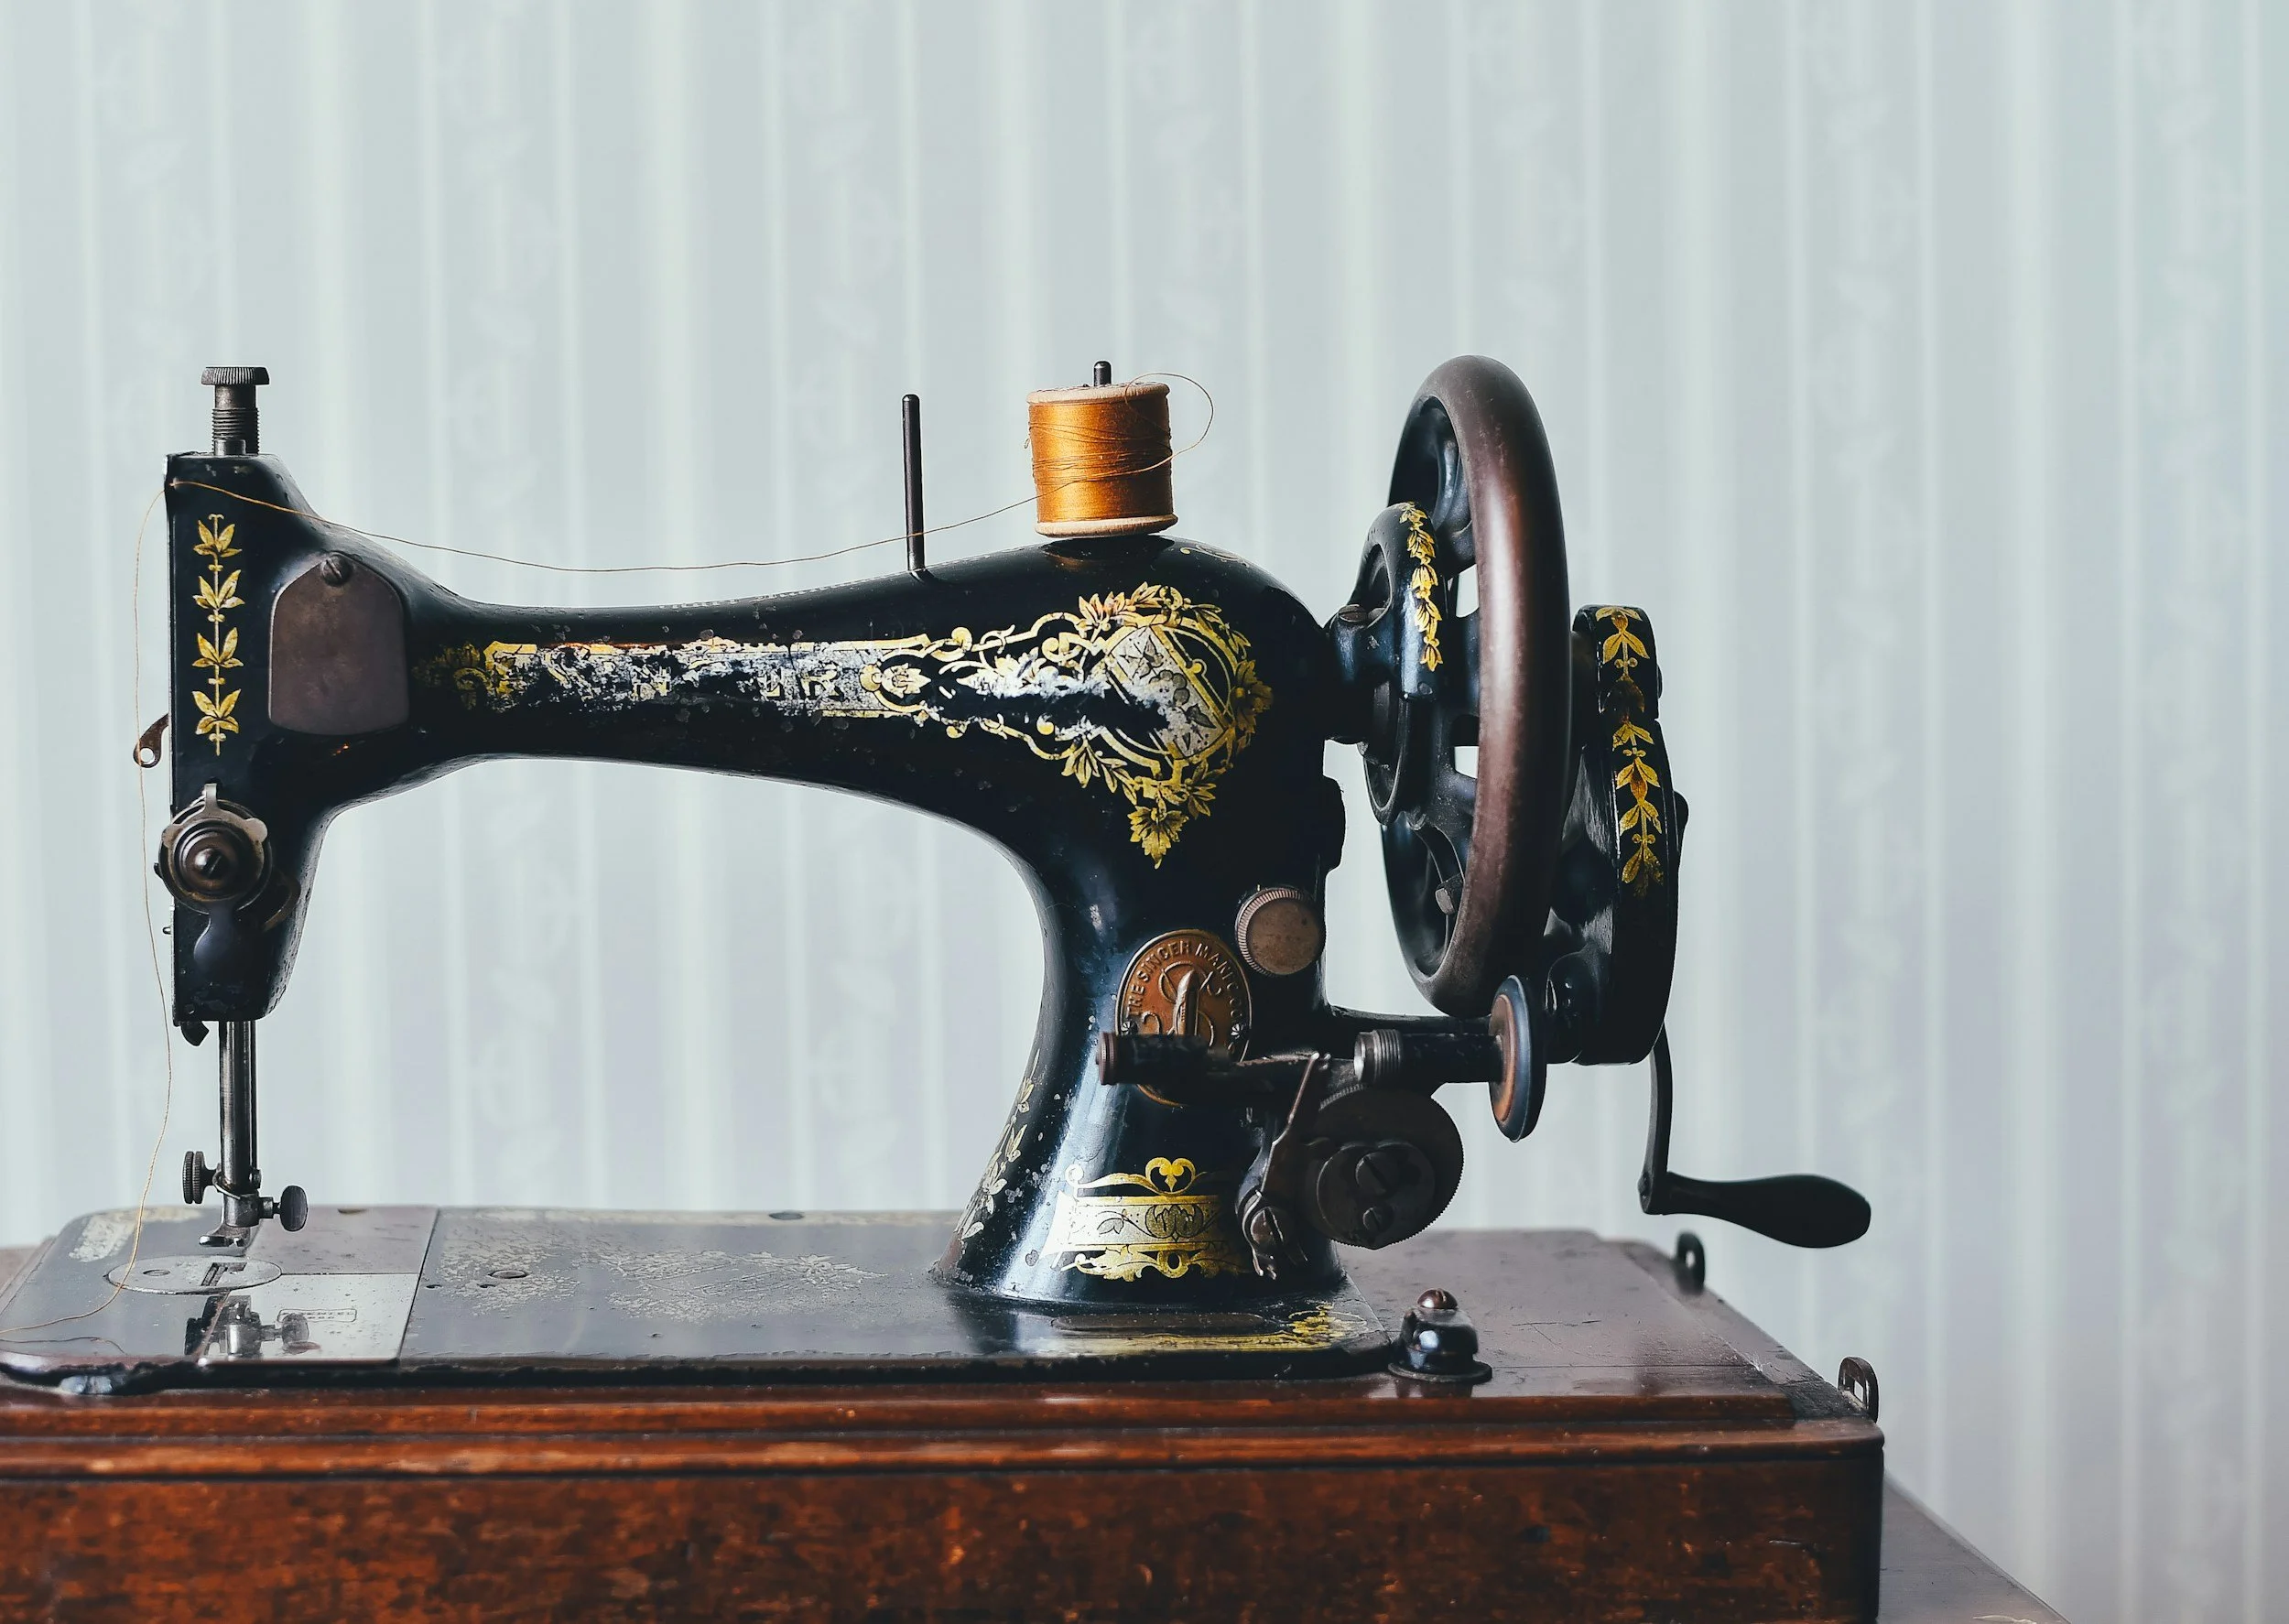
If you are thinking about getting into the art of sewing, you will want to have these tools on hand before you start. Trust me, it will make your life a whole lot easier!
Sewing machine or needle and thread
Little sewing scissors for cutting threads
Seam ripper
Grid ruler for precise measurements
Heat dissolving white tailors chalk
A pair of sharp fabric scissors and a flat space to cut
Iron to press all seams
Pinking shears or overlock machine to finish edges